Real or Fake?

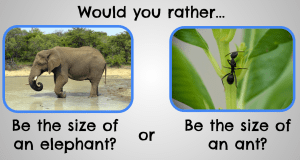
Today in our Cybersmart lesson we were looking at images and deciding if they were real or fake.

Then we created a fake animal ourselves by combining 2 animals together. We removed backgrounds and used the magic eraser so we only had the parts we needed. We added a background so it looked real.

Then we made an image of an animal in a place where you wouldn’t usually wouldn’t see them. Some of us used a short video and we could remove the background on this as well.

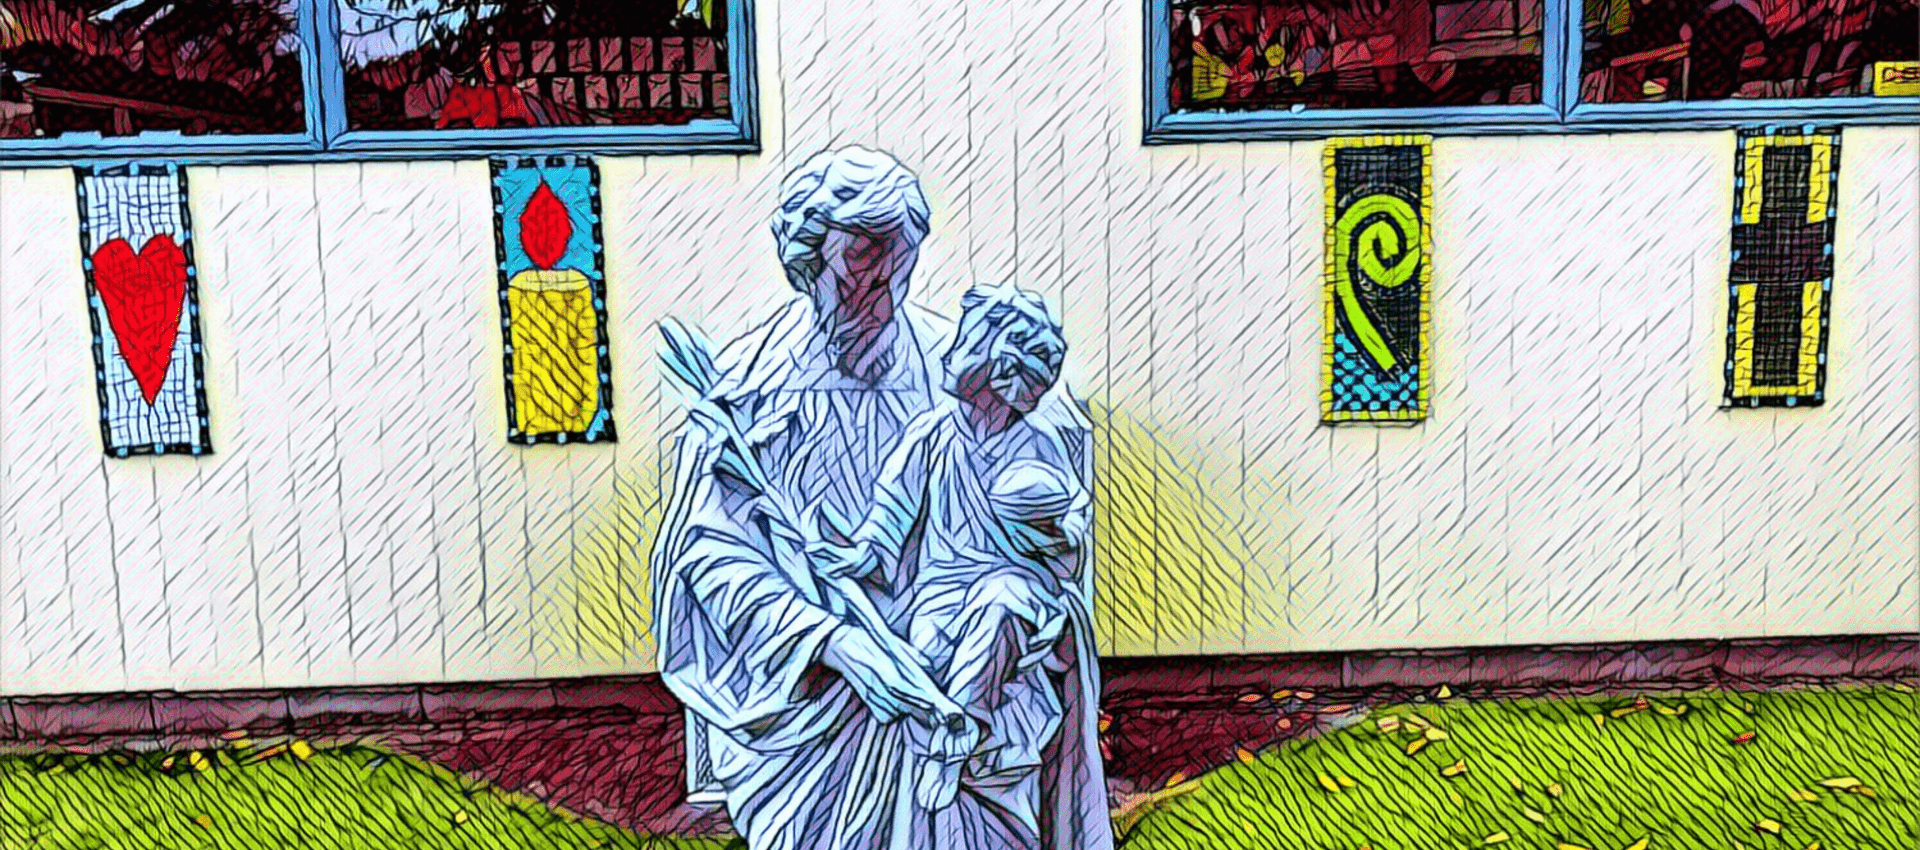
Here is Millie’s work…

Millie Amazing Animals

What is Media?

Today in our Cybersmart lesson we were thinking about Media, what it is, where we see it and what we use.

Then we used Canva and created a video about the media we use. We had to search for icons or images. We added them and thought about animating them so they move and catch our eye. Some of use inserted a photo of us and turned it into a silhouette by adjusting the brightness and contrast. We added a background that fits and doesn’t take over the design.

We had to rename our project and share it into a folder so our teacher can see our work.

We will complete these next week by adding audio then downloading it and posting it on our blog.

Here is Vinnie’s mahi so far…

Korero in Scratch

This week is Te Wiki o Te Reo Māori. So we have used Scratch to build a scene where 2 sprites meet and have a korero.

We had lots of steps to do before we got to creating our scene and coding.

We had to join Miss McIntosh’s Scratch class and create a username and password. Then we had to name our project and save it to a Studio. This took quite a while so we only just started coding our sprites and setting up a background. We learnt how to put in code so it resets when we click the green flag – this makes the sprites go back to the beginning. We made our sprites glide for 4 seconds to another position.

Next week we will record our voices in Scratch and make our sprites have their korero.

Here is some of our mahi so far. Click on the green flag to start.

Colton’s mahi

Elijah’s mahi

Sticky Questions – Would You Rather?

Today in our Cybersmart lesson we are learning how to write comments on blogs.

We started today by practising on our own class blog and writing a comment by answering the sticky question below.

We had to remember to log into our own blog first so that our comment comes through with our name on it.

We added our comment to a class Google Doc so that we could check it before copying and pasting below.

What would you rather?

Tangrams

Today in our Cybersmart lesson we were creating tangrams. We used the Tangram Builder on Mathigon – an online tool.

If you click on a shape in Mathigon it will give you the outline to help you. We had to rotate some shapes to make them fit and we had to use all 7 pieces in our Tangram. We took a screenshot of our tangram and inserted it into the slides below.

Click here if you would like to try to create Tangrams.

Which shape do you think is the easiest to make? Which one do you think is the most difficult?

Quality Blog Posts

This week in our Cybersmart lesson we went through what a quality blog post looks like. The criteria can be found on our class site here.

We posted our Visual Mihi from last week into a quality blog post making sure we had covered all 6 elements.

We reflected on our learning and added this into our post.

Here is Vinnie’s blog post. You can read more posts on his blog here

Today we were learning to share personal, but not private, information

This is important because it tells people about you without words

It was fun making it and also learning more ninja  tricks.

I found nothing hard.

My next steps are to add images that explain more personal, but not private, information.

Do you think you could make one?

Visual Mihi

Today in our Cybersmart lesson we created a visual mihi. This is a way of sharing information without using words.
We replaced a placeholder with our photo by suing the camera on our Chromebook. Then we added 4 images to show some of the things we like doing or gives information about us.

We are thinking about design and formatting images on the page as well as our heading so that it is balanced. Some of us masked our photo using a shape and then added a drop shadow. We also added a drop shadow to our title. This makes it look 3D.

Next week we will be posting our Visual Mihi on our blog.

Here is Zoe’s mahi

Matariki Stars

Today in our Cybersmart lesson we learned how to Draw a Star with 2 triangles. Actually – we drew one star, formatted it to look how we wanted it, then duplicated it, rotated it and joined it to the first triangle. Phew – that is a long workflow!

We did lots of mahi with click, hold, drag then drop using both hands on our touchpad. We learned how to rotate, resize, duplicate, make lines transparent, arrange and colour fill our triangles. Phew!

We also used Geoboard – an online tool. We used the rubber bands to create a star, We took a screenshot of our triangle and inserted it in our slides. You can try out Geoboard by clicking this link here.

What shapes do you think you can make on Geoboard?

If you want to try this out there are video tutorials on Colton’s slides below.

Here is Colton’s mahi. You can read more posts on his blog here.